October 30, 2011

Furniture Design: week of 10/25/2011

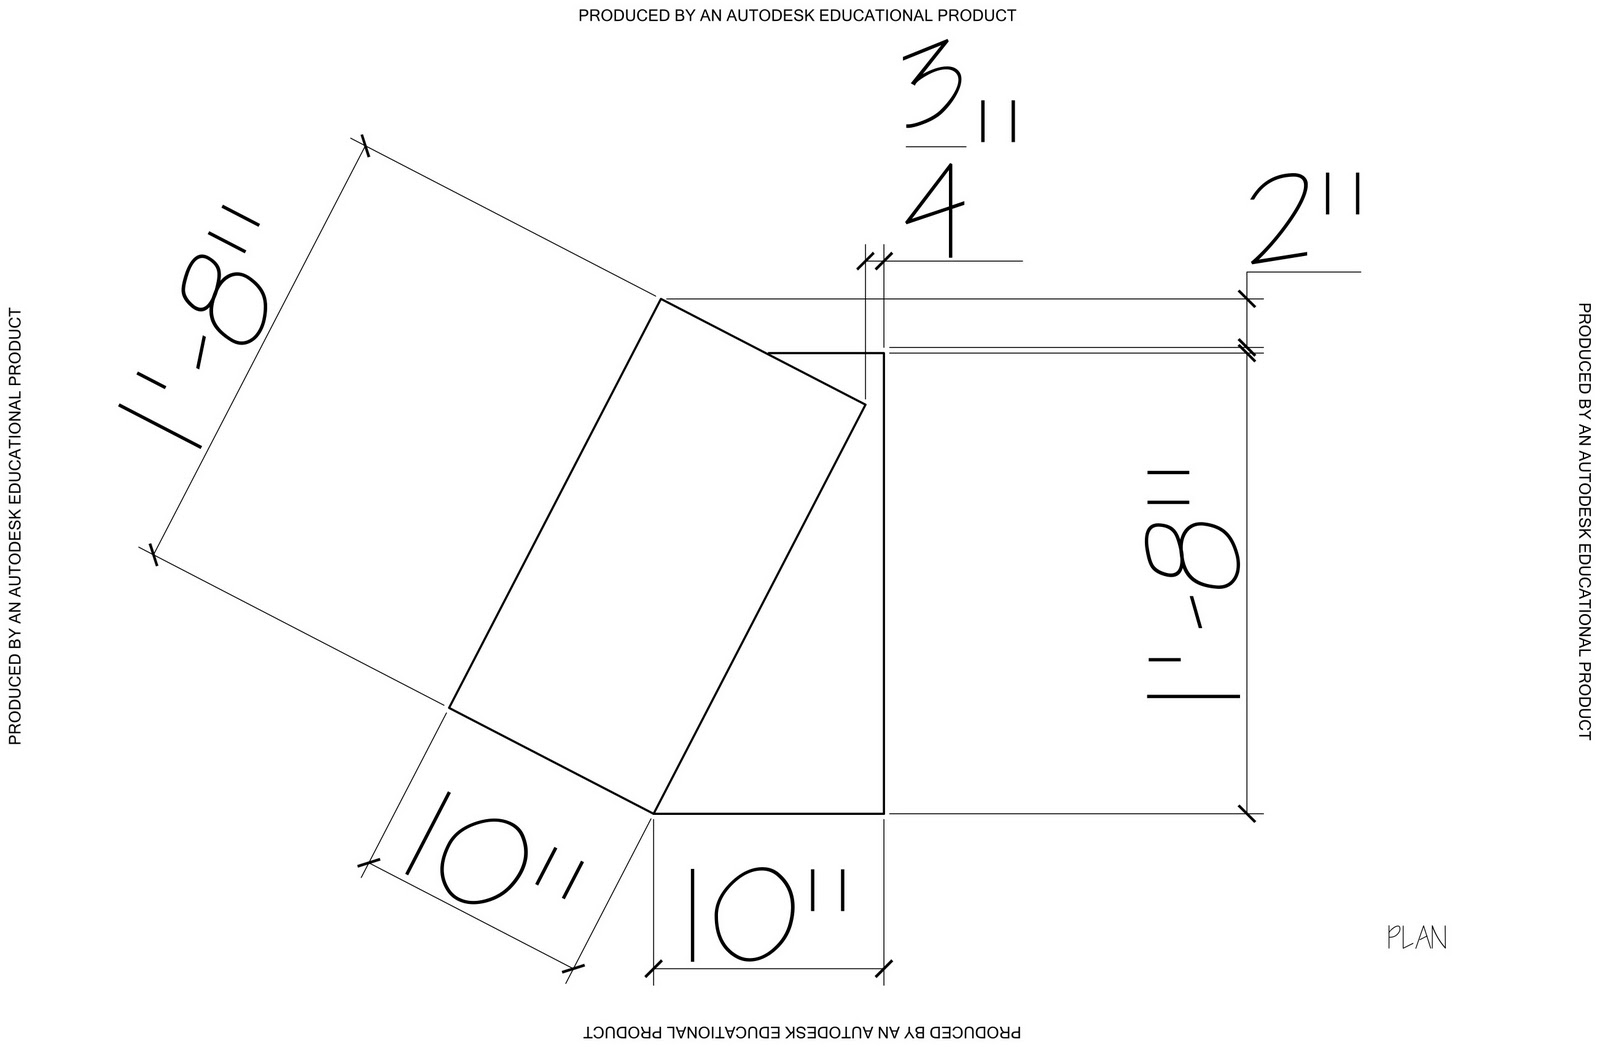
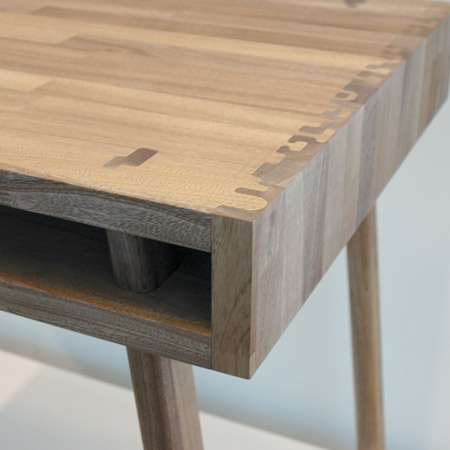
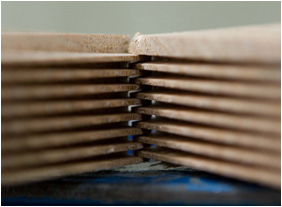
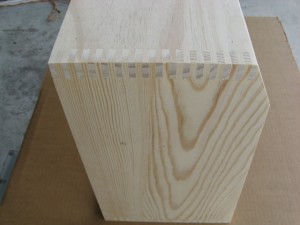
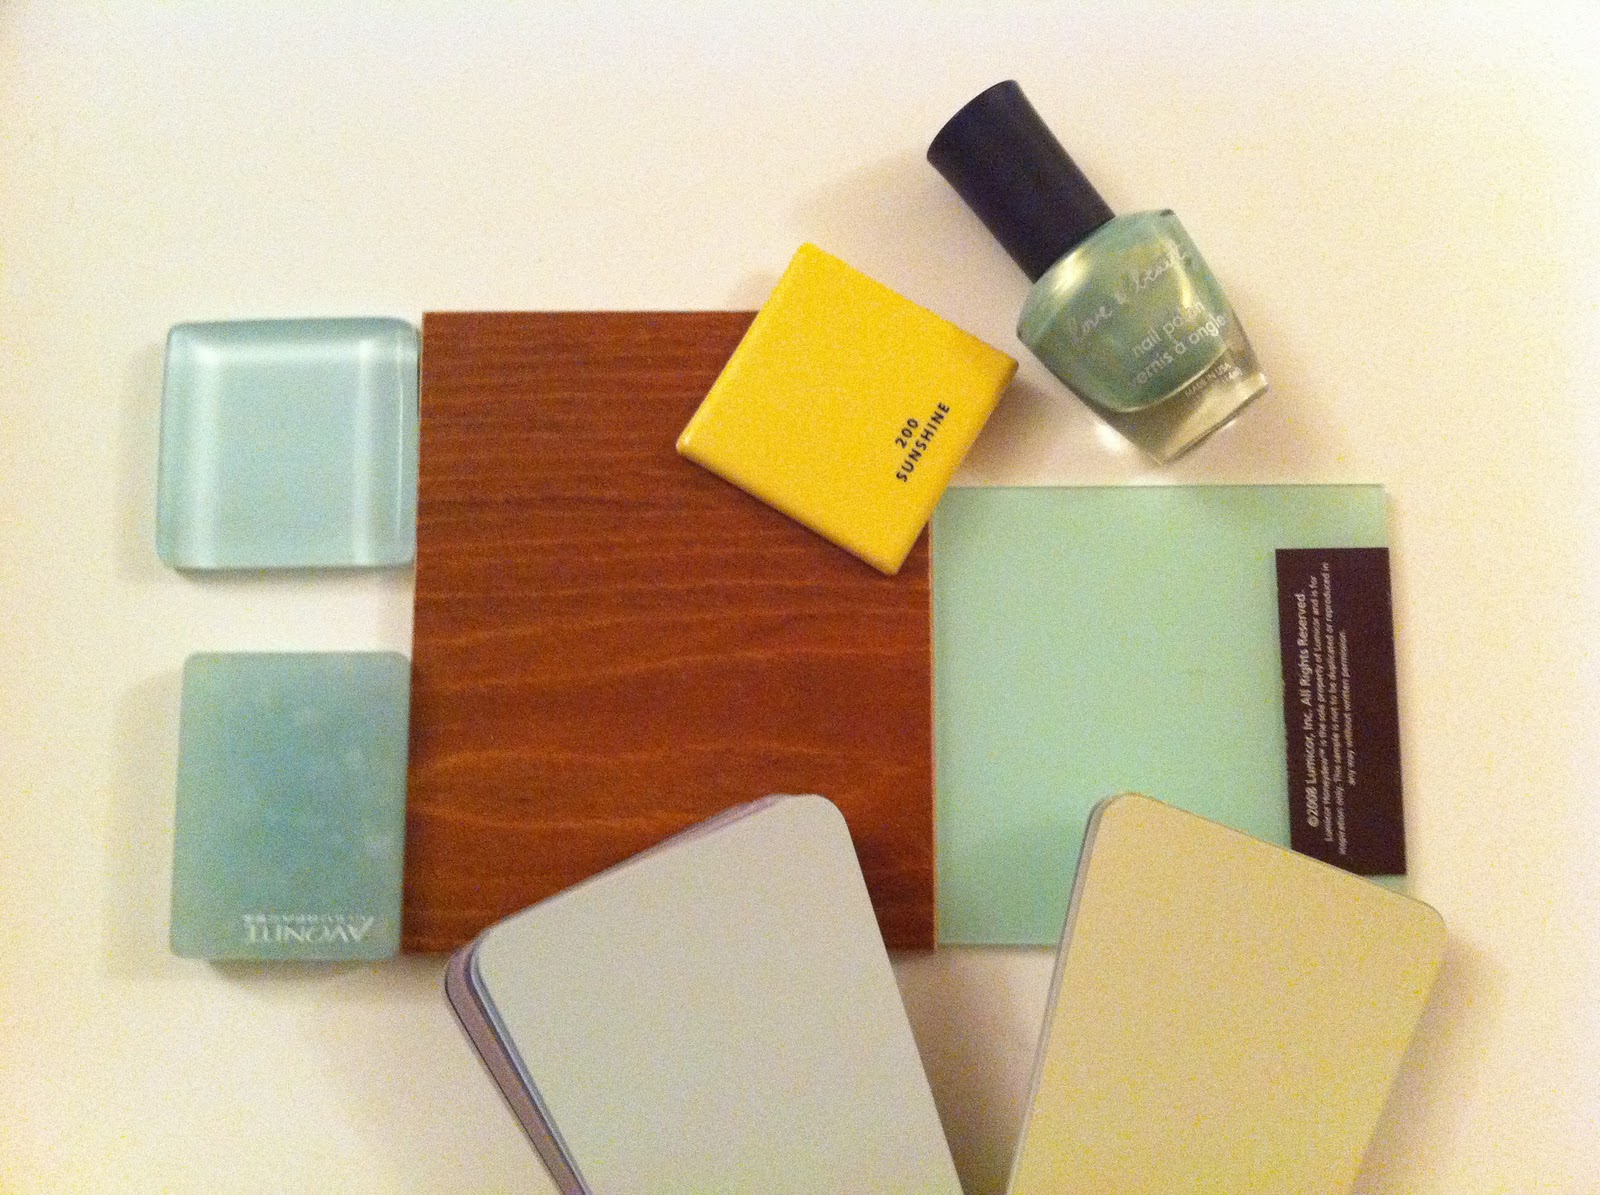
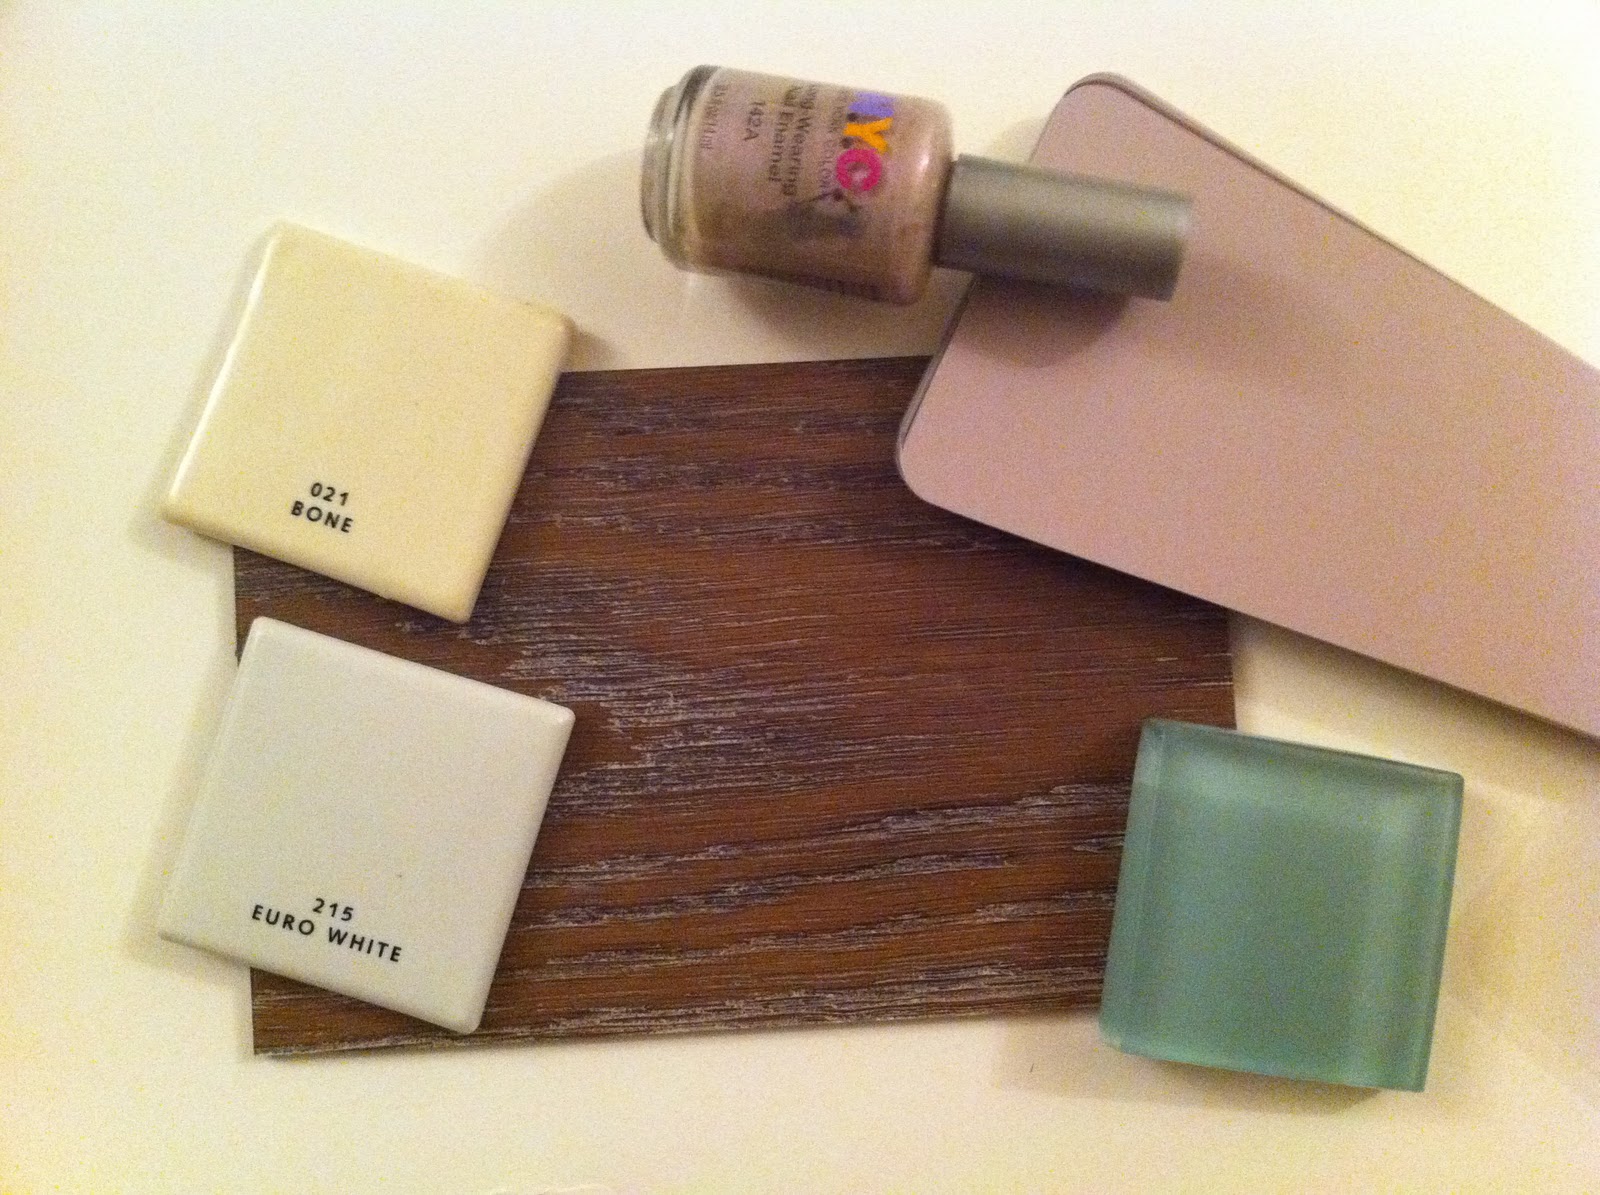
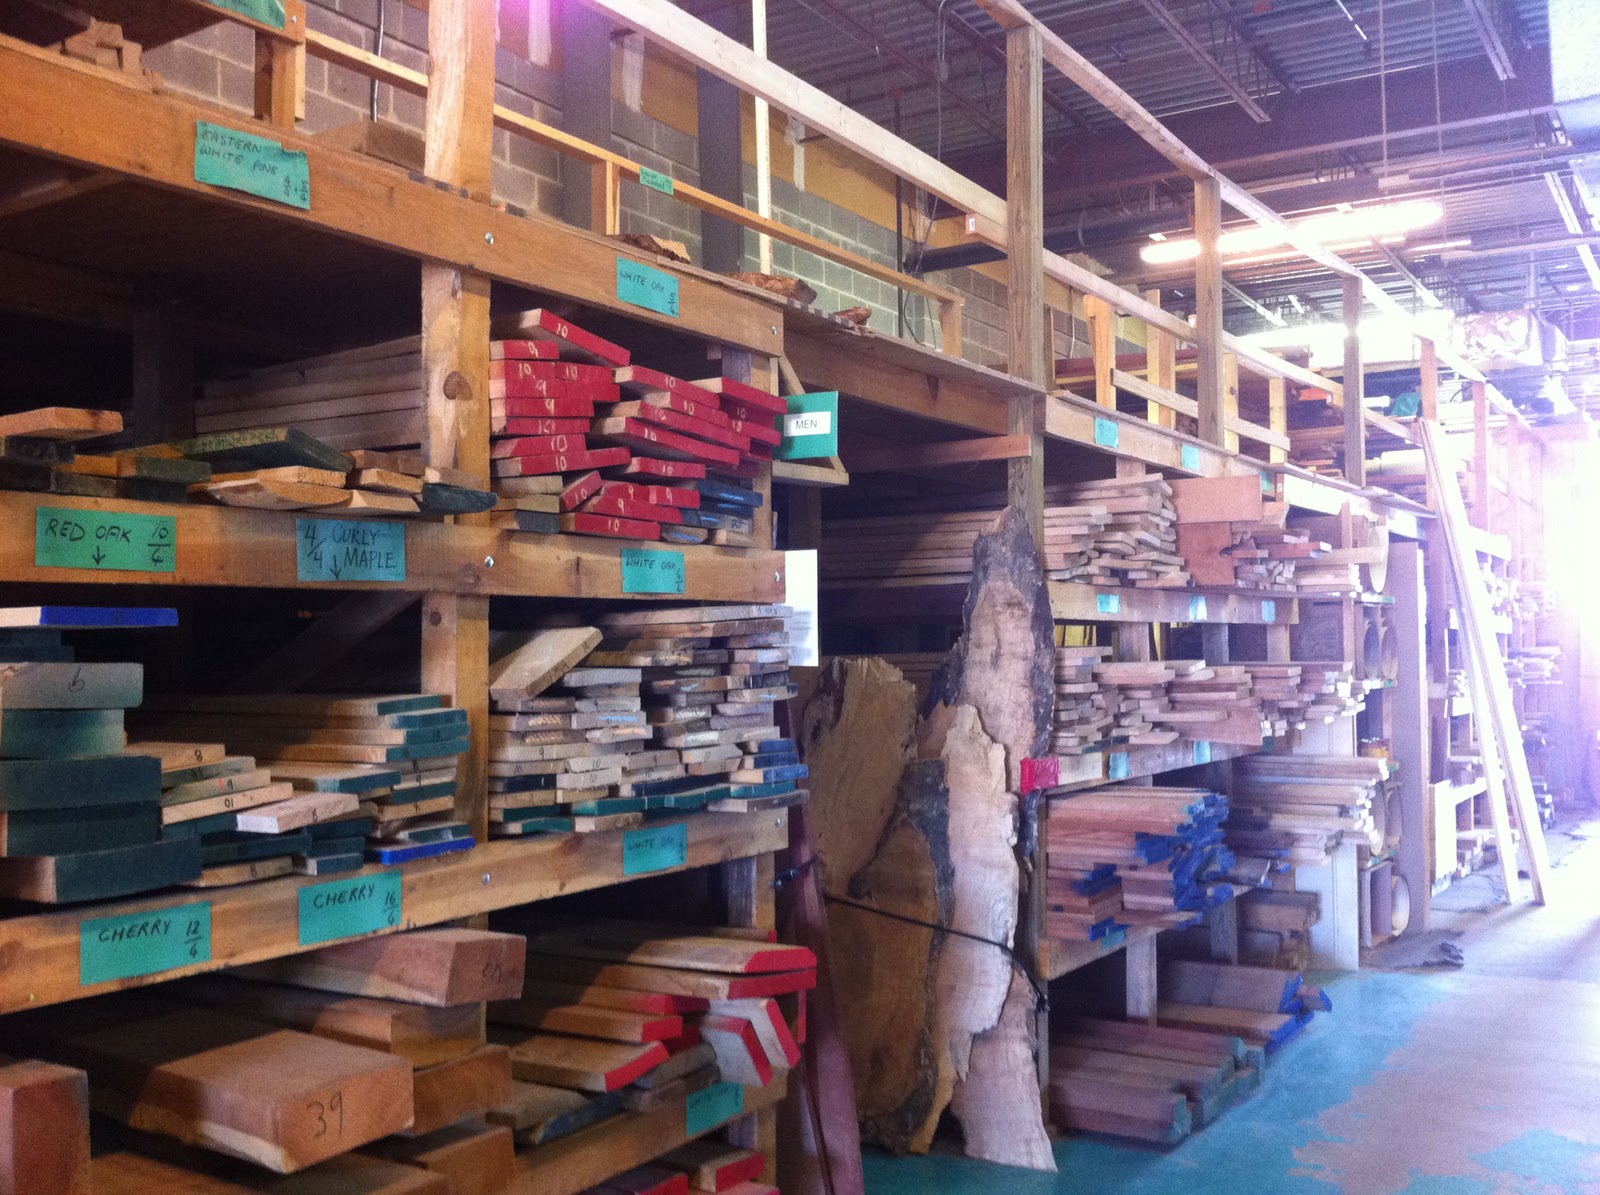
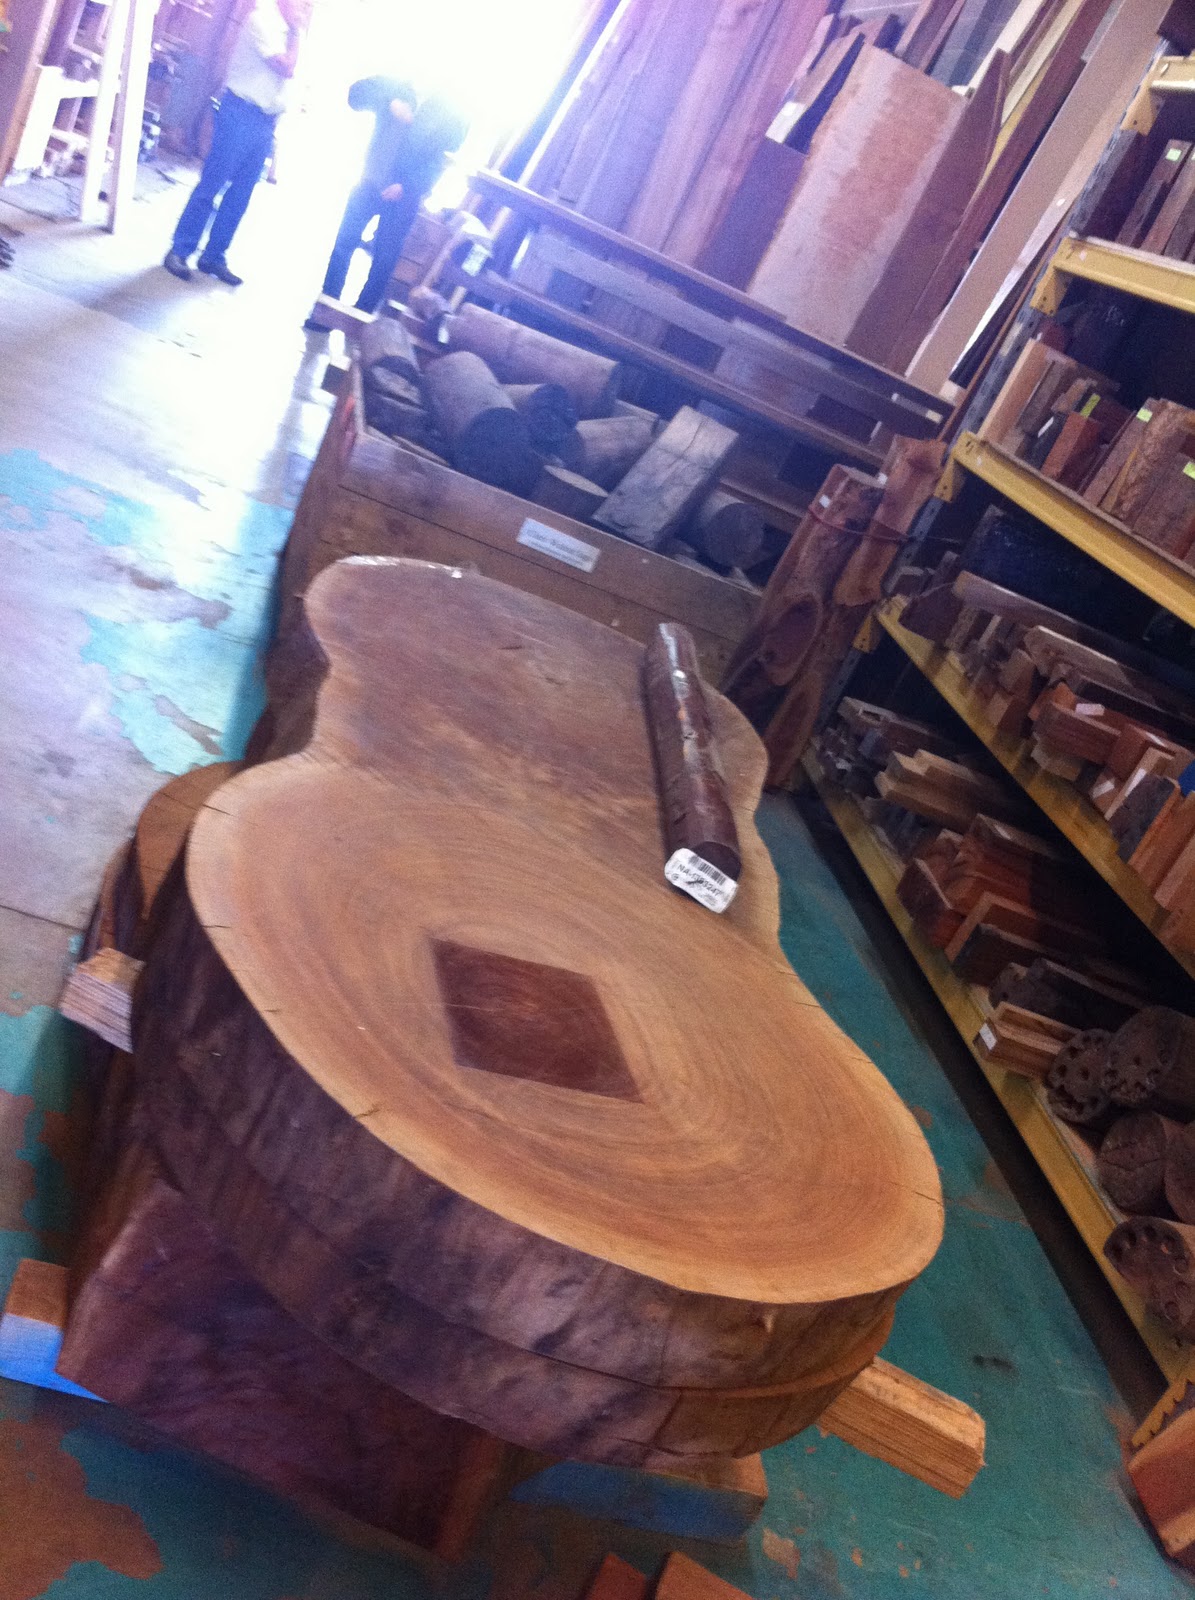
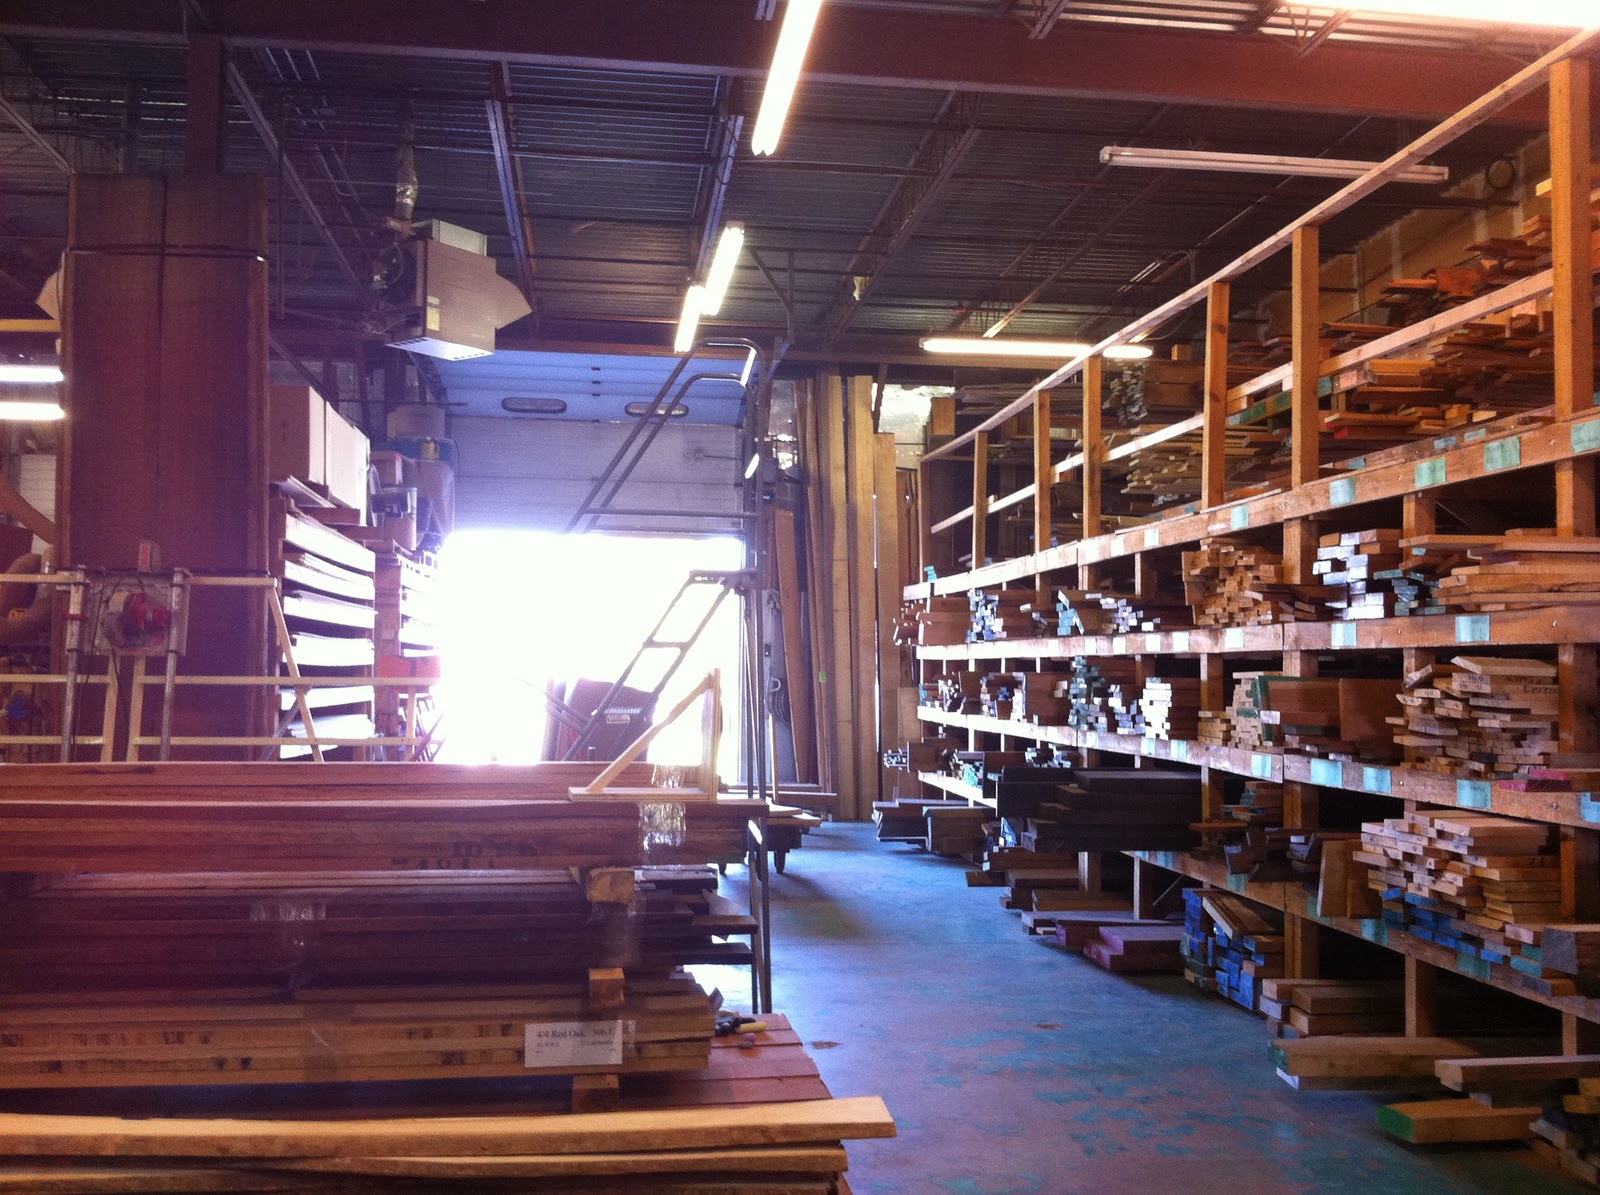
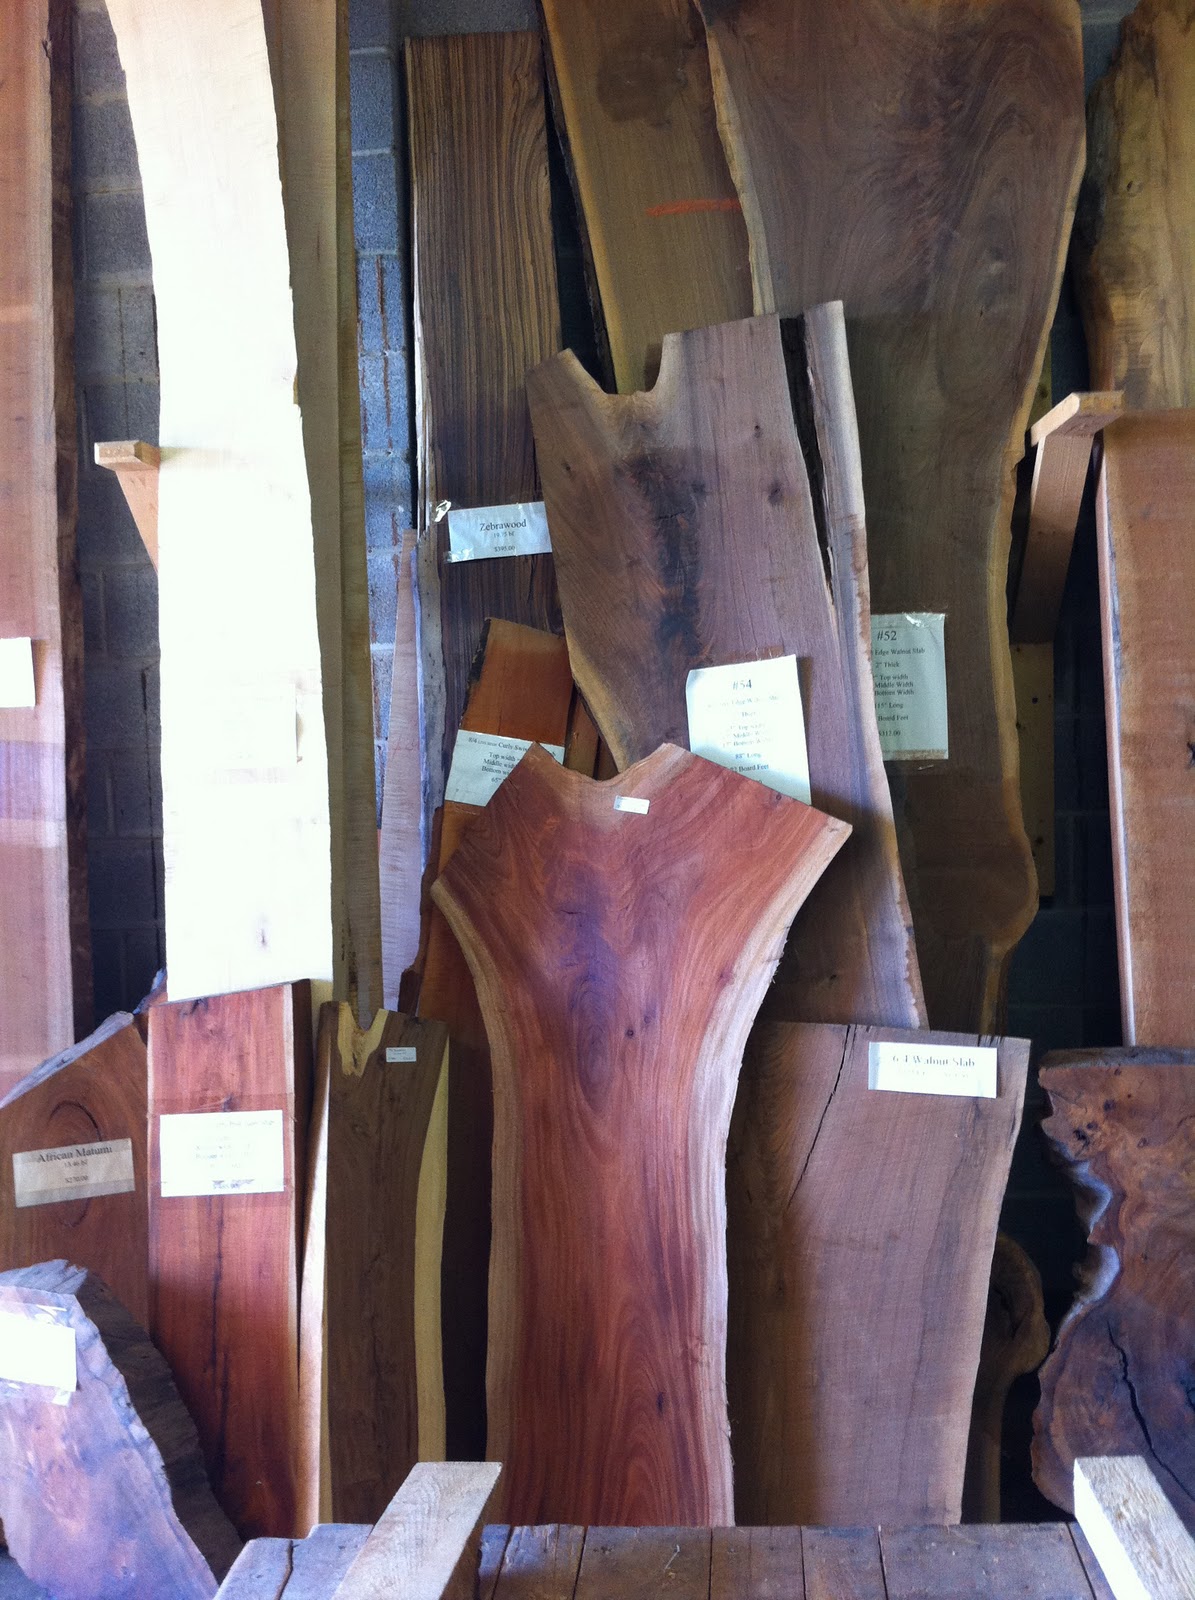
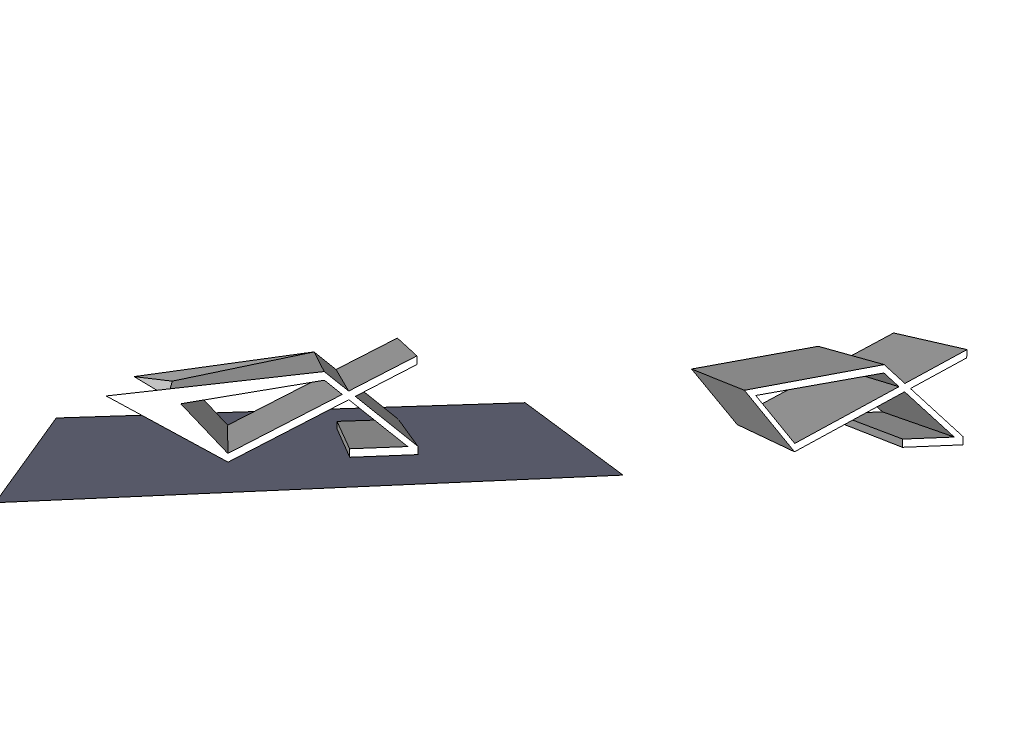
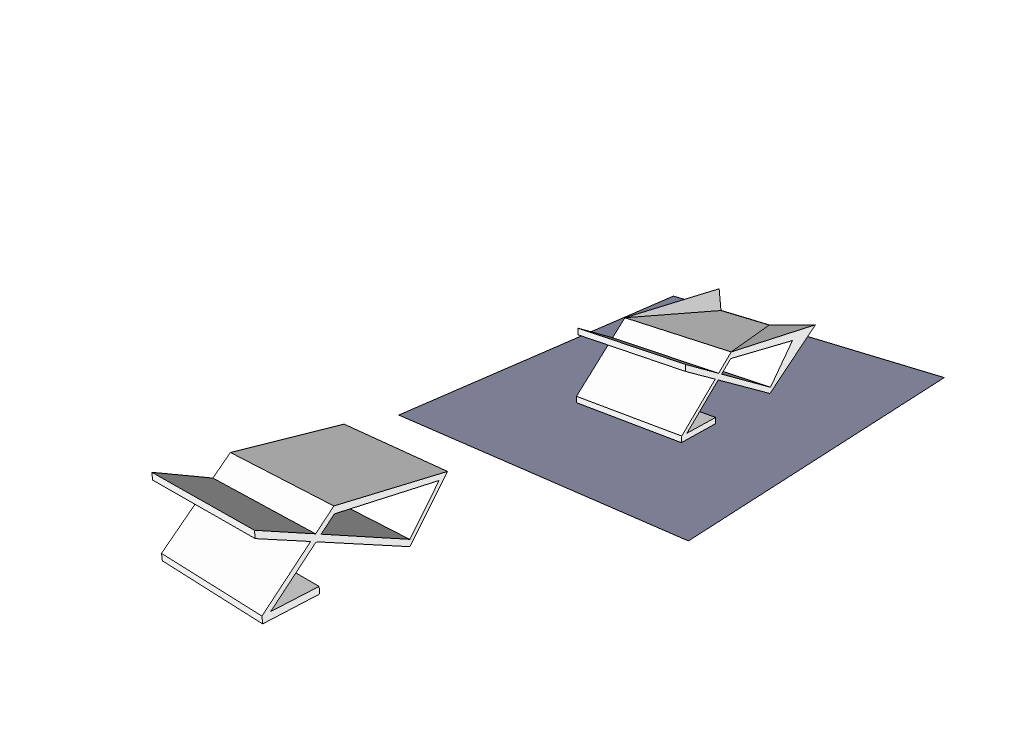
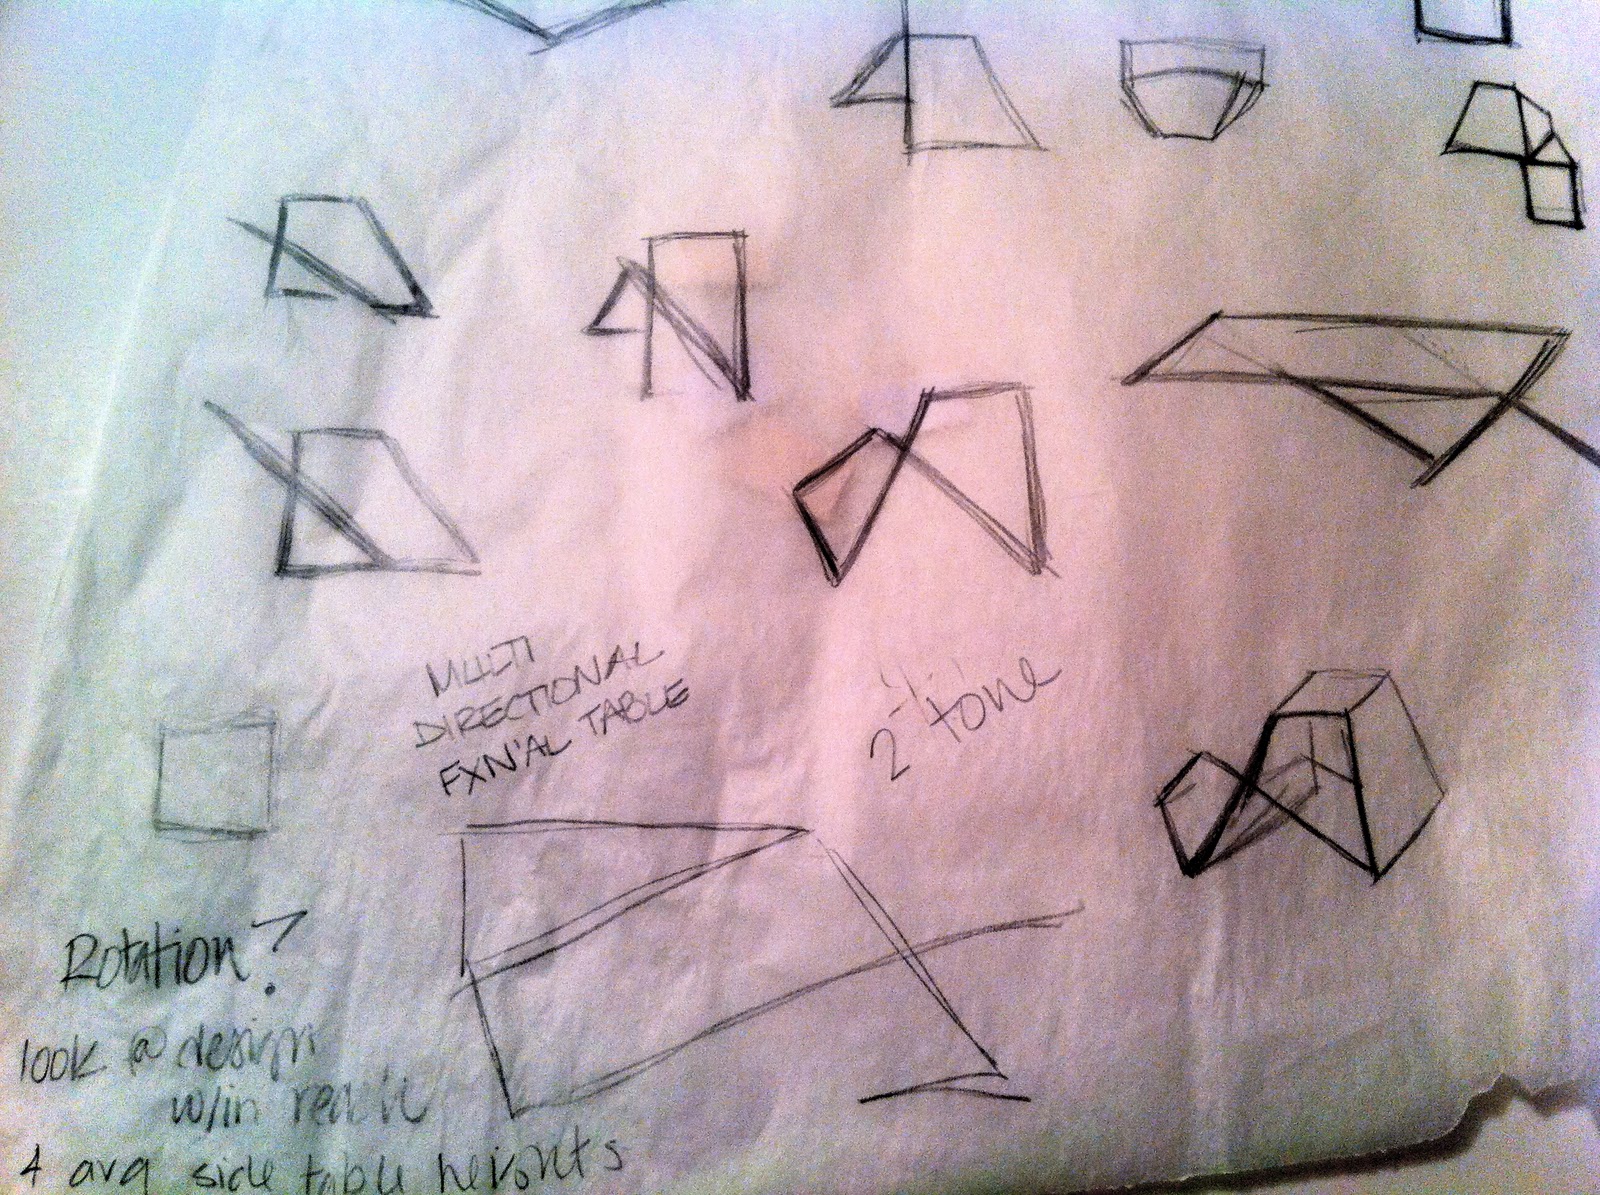
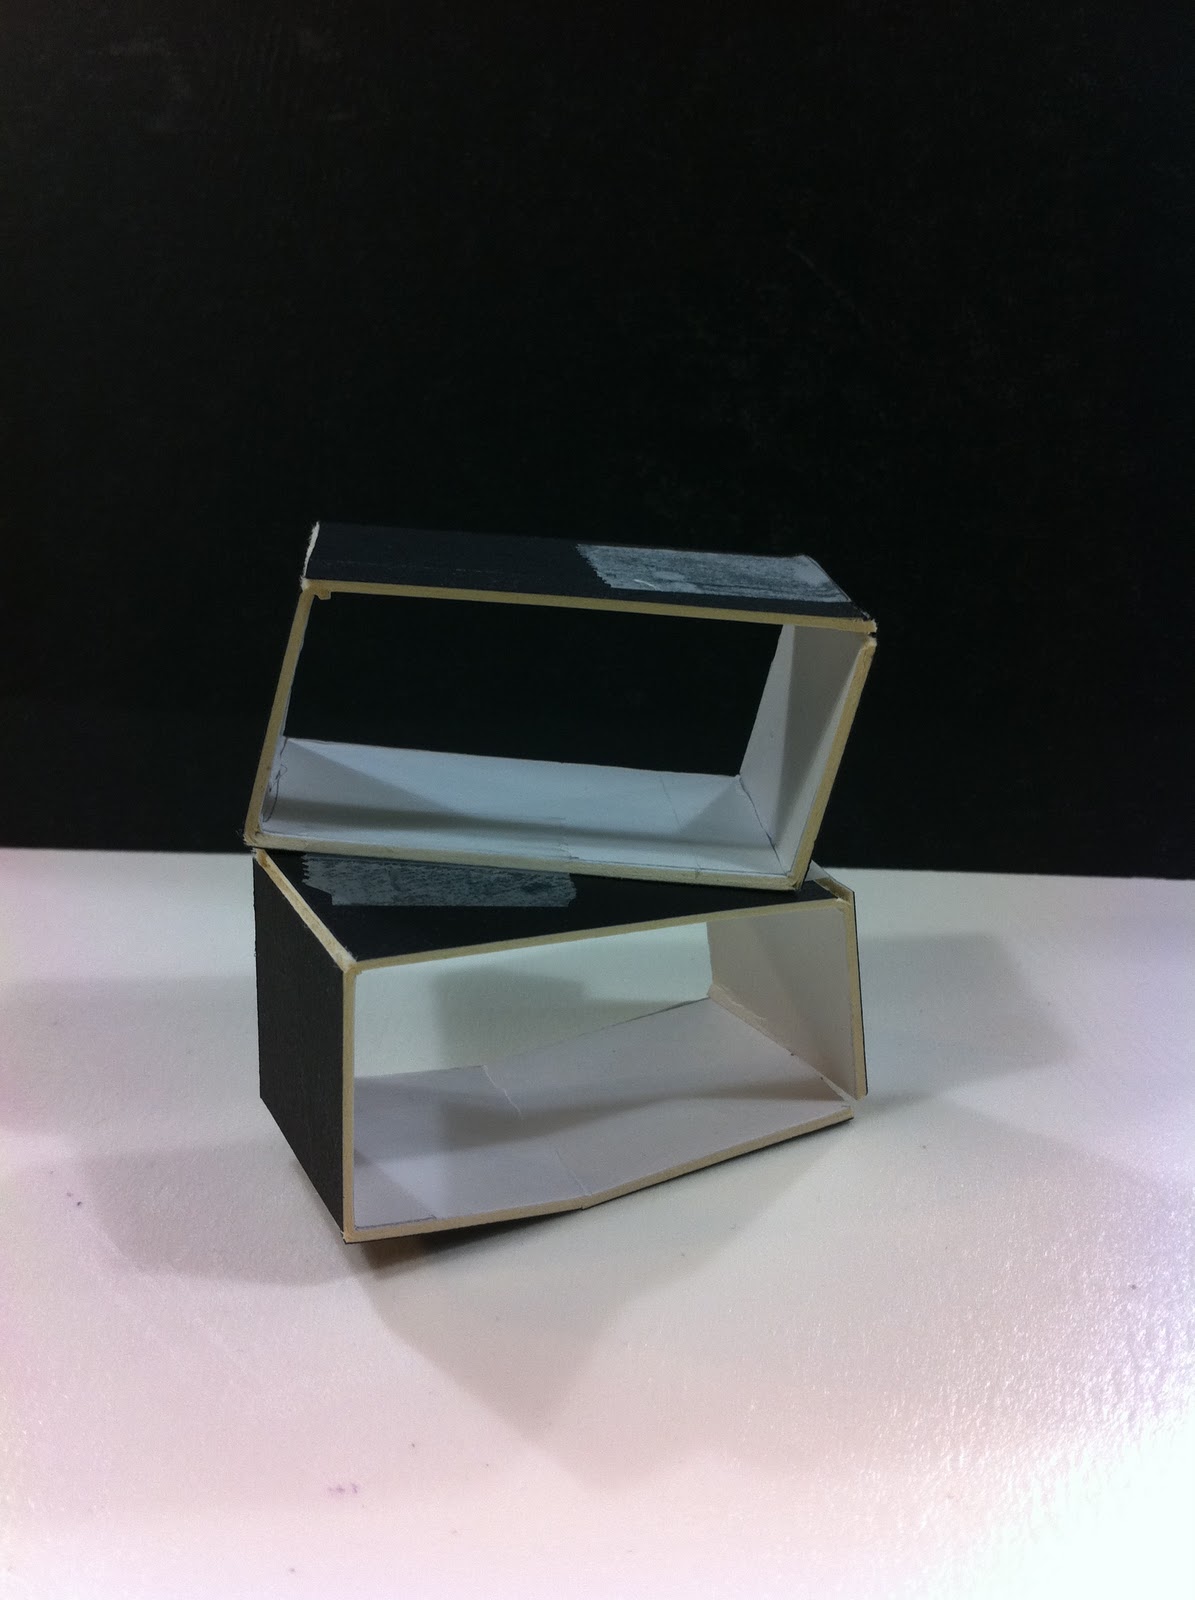
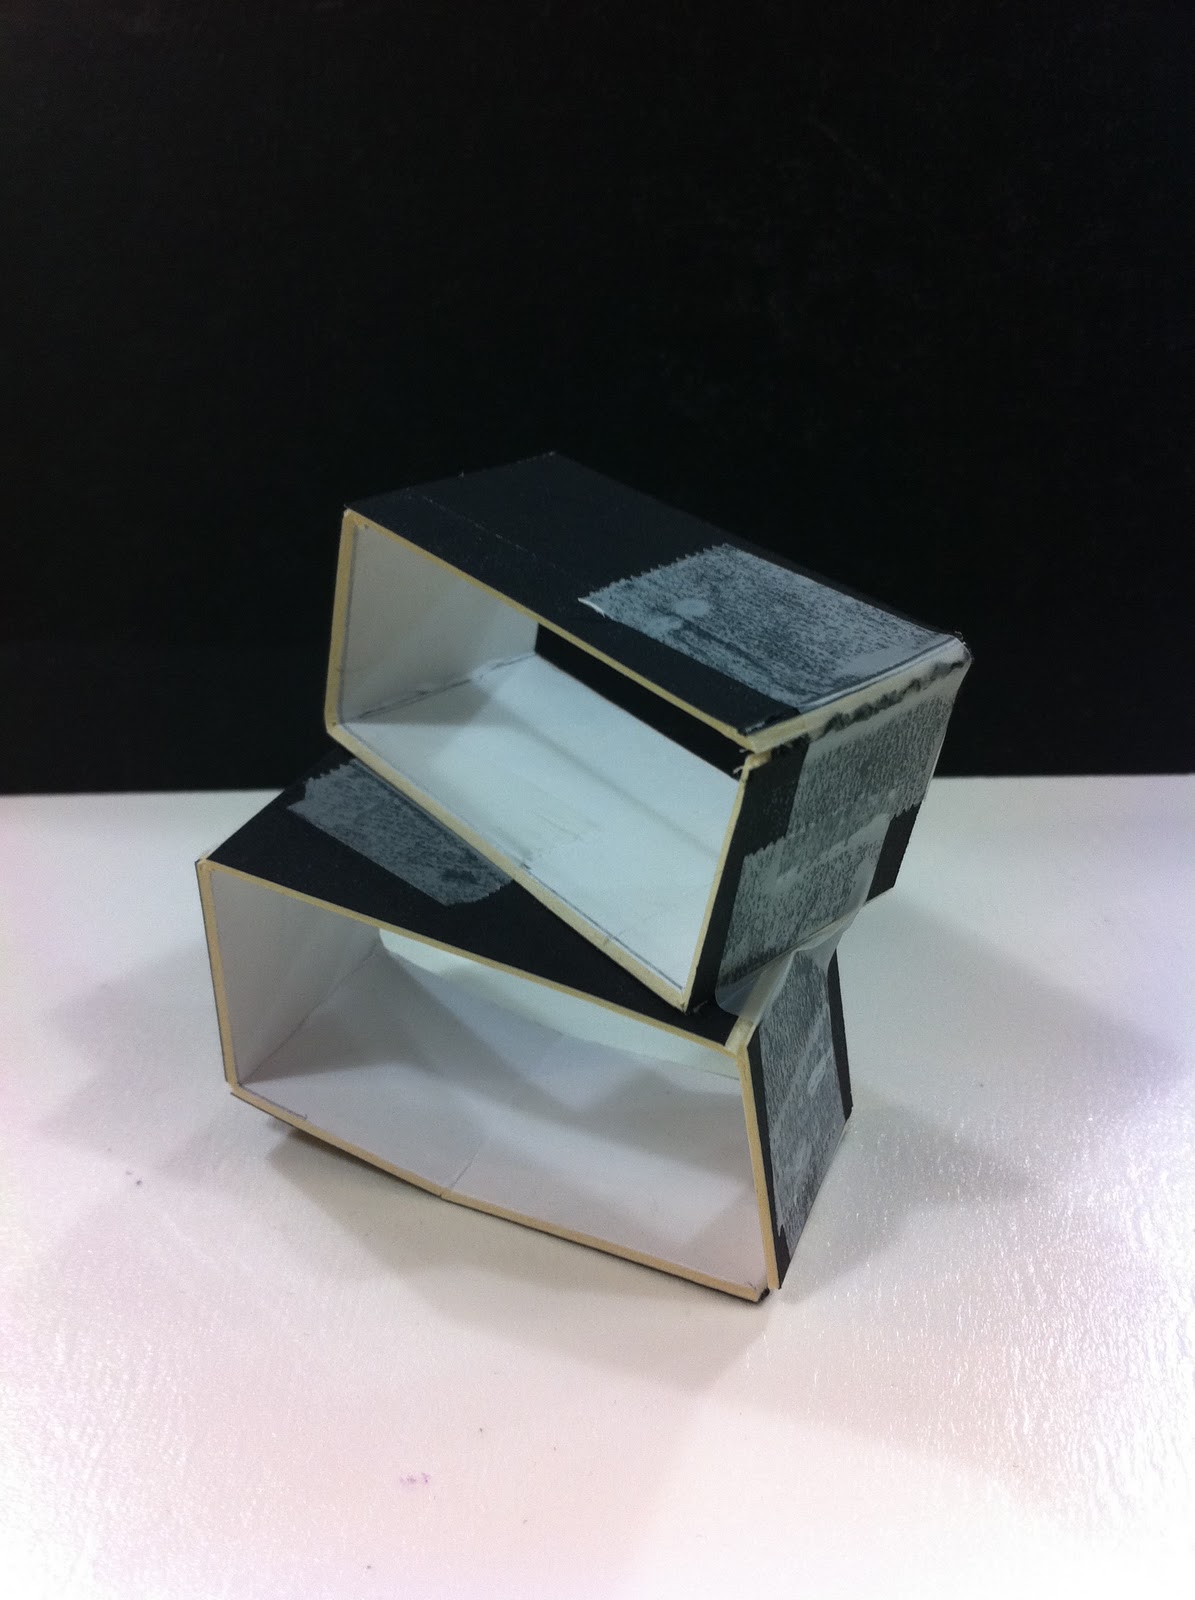
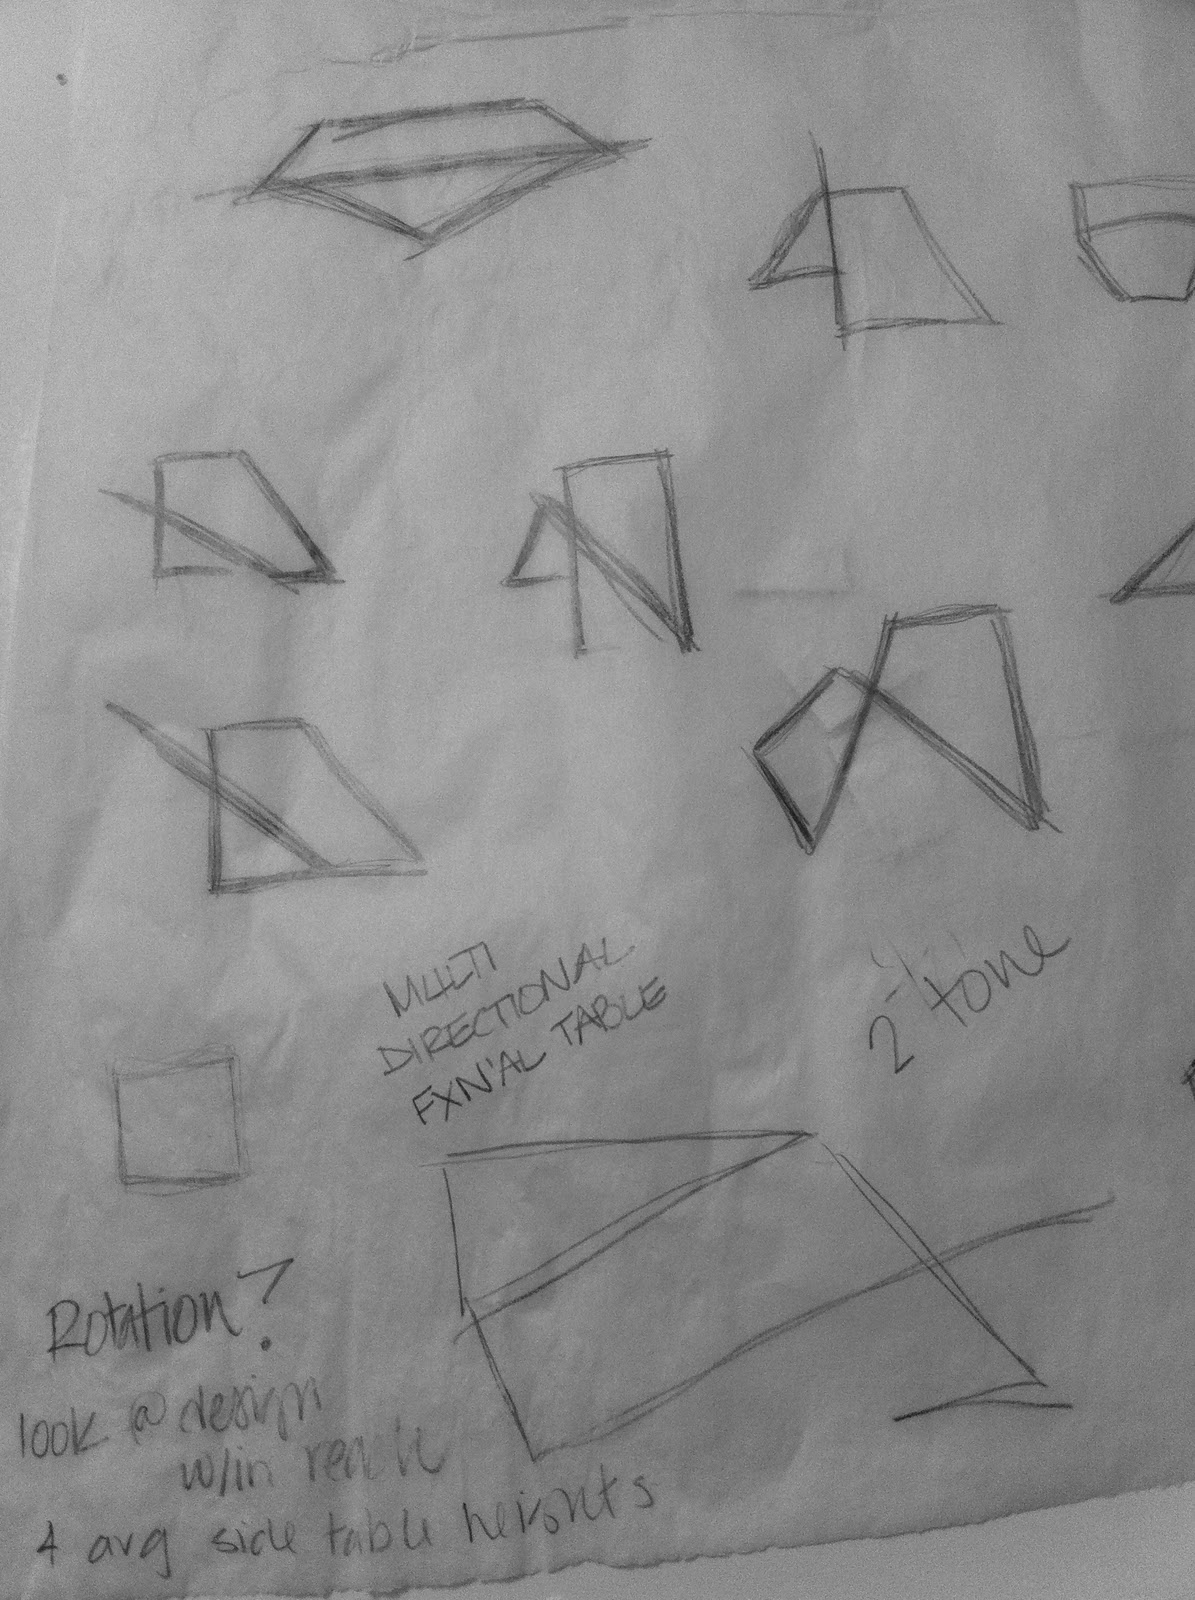
Not much has happened this week in the woodshop. I am working on milling my wood and getting it down to its finished dimensions. I'm still really undecided about how I want my wood to be jointed. My professor showed us the jig for doing finger joints, which are nice, but I don't think its fits into what I am trying to do. I think it detracts from the sleekness of the original design concept. I would like to do a miter joint which structurally it isn't the soundest and its very complicated to do but I think it is the most pleasing for my design. The jury is still out but I feel like I will have to settle for finger joints :/


Since there isn't much to blog about this week I decided to look around and find a new interesting product that's in the marketplace right now...

Mille Bolle Lamp by Adriano Rachelle


This light fixture was designed to mimic how soap bubbles reflect + refract light. It adds high drama to any space.


http://www.slamp.it/common/images/products/slideshows/mille_bolle/fullsize/2.jpg

http://www.slamp.it/en/products/all/mille_bolle.html  

October 23, 2011

Furniture Design: FIELD TRIP!!!!

The highlight of this week was going to neeeeeeeeew york concrete jungle where dreams are made of.... you know the song... Despite my hellacious week leading up to the trip & the fact I feel asleep during every miniscule moment of down time, I still had a great time! Uber-inspiring and almost made me want to move there (ALMOST). 


Material ConneXions
Our first stop of the day. Material ConneXions is a materials resource library. As per their website: "Built on the belief that Every Idea has a Material Solution™, we are the trusted advisor for Fortune 500's, smaller forward-thinking companies, and government agencies seeking a creative or competitive edge through strategic material selections." Its a pretty inspiring place where designers of every kind can find solutions to their materials problems. They have cutting edge material technology and encourages its members to use materials not traditionally used in their respective fields. I managed to sneak some pictures :)


I would come here just to get inspired by the forms + shapes

love these projections

I was digging this color combo


Lindsey Aldeman
Next stop was Lindsey Adelman's lighting studio. She creates custom lighting that is industrial yet delicate. She creates her mobile structures out of blown glass and industrial parts. She plays with various techniques on the glass globes and jewelry for the fixture including thrones, rope, and lace. See some of her work below.


Also if you go to here website or check out the music vibe she has an artistic video of lightmaking....


Uhuru
Our last stop of the day was in Brooklyn at Uhuru.  They are a pretty insteresting firm that uses all reclaimed materials for each of their pieces. The origin and story of the wood is also usually the inspiration for their line made from the wood. Their latest line was inspired by the Coney Island Boardwalk. A blurb from their website explaining their concept is below along with photos:

The new Coney Island Line is crafted from reclaimed wood taken from the demolished iconic boardwalk. The Ipe wood, first installed on the boardwalk in the late 1940's, has weathered in the sun, salt, and snow for 70 years. The design is inspired by the duality of Coney Island- its whimsical, colorful summers and melancholy winters. The pieces interpret the architecture of the desolate dreamscape: low-rise buildings patched with signs and seasonal layers of paint, beneath the towering old-fashioned rollercoaster. The line consists of six limited edition pieces, and Uhuru will produce only ten of each design due to the finite nature of the wood.- from uhurudesign.com


October 9, 2011

Furniture Design: Finalizing My Design & Wood Shopping!

This week I finalized my design, did some color investigations, and went wood shopping!!!! I made my working drawings and figured out my dimensions. I want the table to be 20" tall, 10" wide with a 1" trim. I want to do a two-tone design with the interior being a contrasting color to the outside. I would like to keep the outside a wood-grain tone to showcase the wood and add a zing of color on the insider for interest and pizazz. 


Plan view of 2 pieces  
Front & Side Elevation

Originally I was going to do regular fingers joints to join the corners or my table but the more I looked at images of them I didn't like how the 2 toned nature of the end grain showed. So I started thinking maybe I can use that to my advantage or do something different. I started looking into decorative joints and mitered joints.


color investigation: 
I want to stay in the matte, neutral color palette
My color 2 options are....
Light color wood, darker interior color
Darker color wood, light color interior


Yellow tone wood off set with cool blue or green hues

Wood with a gray tone paired with mauvey, blue, cream hues
neutral color palette
I would love to find a wood with this interesting of a grain
Another matte/neutral color tone


To see my full color inspiration ideas visit my pinterest page and follow me! designordye (shameless self plug) 


Wood Shopping:
 1st time doing it and to be honest it was a tad stressful! Mainly because I didn't want to spend an astronomical amount to make my table. If I weren't a student, I'd be happy to spend whatever and get exactly what I want!
We ventured out to Exotic Lumber in Gaithersburg, MD saturday morning to get a grad tour by the owner. I was a fun learning experience but when it came to picking the wood and figuring out the price, that was a bit of a doozey for a saturday morning! I ended up selecting ash as my wood because I liked the grain, finished tone, and price :) I'm excited to start making my table!!!!
Images from Exotic Lumber are below.....


October 2, 2011

Furniture Design: Process Work Week 5


Sketch Up models of table
Design.... how I love and HATE you all at the same time! This week I toyed with my table design. The more I drew it, made models of it, and just looked at it.... the less I liked it. As my professor said to me, forms such as my table look most striking from the side but head on are pretty lifeless. I wanted a way to make the front view more interesting so I went back to sketching...

Here I am still experimenting with the side view. I started to think what if I changed the design completely. What if I made the table more like my object? The eraser is made so that no mater what side you turn it on it stands and is functional.


This iteration is a table that can be turned in multiple directions an on various sides. However interesting of a concept, I STILL had the same problem of it being uninteresting from the front. I started to walk around the studio to take my mind of things and I stumbled upon this model that looked similar to the sketch below

From the side it had all of these interesting lines and shapes coming together and from the front it was stimulating because the top portion stuck out further than the bottom creating depth. Then I started to apply a similar idea to my design. What if I broke the box-like shape up? What is if were 2 boxes that looked to be splitting or rotating on top of one another?

Quick sketch of my idea


I really like this one! It is 2 rectangles rotated on one another. It is mulch-directional much like my eraser; either side can be used. It is also interest from the front view. It has depth and movement when you view it head on. It was a very happy accident that I came across this idea. This coming week I need to:

1. figure out the dimensions
2. do some color studies; I really like the contrast of the white and black but want to see what other options look good.
3. Make a scaled model


Twitter Delicious Facebook Digg Stumbleupon Favorites More

 
Design by Free WordPress Themes | Bloggerized by Lasantha - Premium Blogger Themes | Hostgator Discount Code